Showing posts with label larp weapon. Show all posts

Tuesday, 12 February 2013

How to make a larp boffer farming sickle

As I mentioned in my facebook page I'm going to make a couple of "improvised" weapons. Actually the term was a bit misleading, since I did not mean something cobbled together from a bits of scrap MacGuyver style. Actually there are an awful lot of tools of everyday life that also happen to have good weight or sharp edges and thus be quite good for chopping or clobbering someone over the head. Remember - not everyone can be a special snowflake, and hardly everyone was a mighty warrior or had a heirloom sword of power stashed in the attic. So when you are a simple farmer and those uppity orcs show up and trample your fields...well you grab the first thing that can go choppy on them, you don't wait for the army to arrive 6 days later. As it happens to be, that would be your sickle. Hell, as far it goes its a perfectly fine bladed weapon. A certain Paulus Hector Mair even had a chapter in his medieval fighting manual on sickles.


But enough about that. So you want a sickle? Lets make one!


LARP BOFFER SICKLE.


Budget: Usual for a weapon

Materials: foam, F20 pipe(you need a thin pipe or you won't be able to curve it) tapes, something for the handle.

Tools: Usual for the job AND also get a heat gun+ protective gloves. You can still use the other ways of heating the pipe, but as I discovered the heat gun is perfect.


 First thing to do would be to cut the necessary length of pipe and prepare for heat gun work.
 USE GLOVES AND CAUTION WITH THE HEAT GUN! 
Otherwise you will burn yourself or something else. So read the damn manual.

 Keep in mind - achieving the shape will probably take more than one pass. Do it slowly and steadily so that you don't damage the pipe, only bend it. As an advice - to speed up cooling put it in cold water while holding it in the right shape (or under the water tap). Thus it will get solid in the shape we want it.


After that its mostly trivial stuff. First the handle is made. Since I'm out of flip-flop pieces, I just taped a few strips of cardboard  to it.

Then I covered it with wood texture wallpaper and its on to the blade.

Keep in mind that the blade of the sickle is on the inner side. So most layers of foam and the tip(which you will be striking a lot with) should be on the inner side.


 Eventually we got our farming sickle done. Now we can have a peasant rebellion.


I say....how about lowering them taxes m'lord?

Monday, 19 November 2012

Assasination weapons in LARP - the breast dagger

Every now and then you can find an idea in those fantasy tv serials that isn't as bad as the rest of it and can be applied to a larp. No, I'm not talking about chainmail battle bikini. This one will be the breast dagger from Xena the warrior princess. Yeah yeah, don't shoot now - think a bit. If poison cannot be used for various reasons - you still need a blade. And well, at any larp game that does not involve character sheets and dice, guards will quickly remove knives and daggers hidden in the usual places. That's why you need one hidden in a, well less usual place where they'd usually NOT look. And if they try to - you have all right to stop them. I don't have to mention that's a lady's weapon do I? Well just to make clear - its a small punch dagger for a lady to hide between her breasts.


 Note: I made it a bit bigger than it should be. However since its has to be of a custom size to fit uuuh...well the user's hiding spots, it was better to make it bigger and THEN trim it out. That's why the grip is so plain too,I should decorate it a bit.

TOOLS - the usual

MATERIALS - 1 old flip-flop or a piece of tougher camp mat foam with the suitable shape, various duct tapes, old plastic bottles - grip decoration is optional.


First thing to do is cut out the rough shape of the dagger. Yeah I know what it looks like at this point, don't laugh.


After that, slowly start trimming and sharpening it until it reaches the desired shape and size.


Then its time to make the grip - plastic bottles are the material of choice for me. Nothing difficult here either.


 Then its just adding the tapes and its finished. Decorating the grip is up to you. I decided against anything serious, since it will  be trimmed down even more later on to fit a girl's hand, not mine.


 And that's it, now nobody will feel safe around girls in larp. Not as if we did before...


Friday, 16 November 2012

Assassination weapons in LARP - the Gom jabbar poison ring.

Oh yes, assassination is a big thing in LARP, nothing gets the game running as a good old backstabbing so to speak. Being an assassin in larp is always fun if you are proficient in well, being a dick. It is also, not very easy as one would make it out to be. See, assassination requires not just getting close, doing the kill but getting out too. Those are not so easy to accomplish as people think. For example dressing like that will give you praise for a good costume...
But you will never ever have a chance to get to your target. That's real life for you - people don't forget you or your face if you hide in a haystack for a few seconds. Same theme as with ninjas...you know they did not dress in black and jump around a lot in real life...but thats why they were effective. No, you need to look unassuming. That also means no fancy stuff like spring loaded hidden blades.
Yeah, I know its cool and so on, but even if you somehow resist showing off before the game, you can use it only once...after that people WILL know you have one, and you can't exactly change how your bracer looks all the time(though it IS possible)

No...you need a weapon that is easier to hide better than the hidden blade. Yes, pun intended. A boot knife or one hidden in your sleeve is better, except that most of the time it won't escape a half decent search attempt.

Now, I devised first as concept and soon as real practice, a series of cheap, disposable and rather useful assassination weapons. Bear in mind on the word assassination weapons - they will be useless in actual combat.

First one depends on one thing really - the availability and use of poison in your game.

Ever read (or watched) Dune? Then you must be familiar with the Gom Jabbar - the poison needle ring from it. This is my variation. Its very simple, cheap, effective and disposable. Just approach someone, gently wrap your arm around his shoulders while pricking his neck and whispering "Poison" to his ear and you are done. You can hide the ring in a second, or just throw it away - its  something small enough that won't be found immediately or at all. 


But how its made?

Tools needed are two pairs of small pliers and a pair of scissors.

Material - plastic bottle, cheapest trift store 10 for a buck plastic and brass crap rings. Just make sure its from those that can be expanded or tightened with ease. Optional - aluminium foil.

First make cut and sharpen some "needles" from the plastic bottles. Yeah - don't be afraid to make a sharp point - the target must feel the pin prick after all and its nothing serious, its not as if its capable of penetrating skin. If you want you can wrap it in foil or paint it in some colour. I'd say sickly green on the tip will do nice.
 Then use the pliers to open the ring you've chosen to work with. They are soft enough(being brass mostly) to be opened by hand, but you still need the pliers to close em tightly after that.
 Then fit the "needle" between the two sides, and simply close the ring again. Tighten it good or the needle might fall off. A drop of superglue should help too, I simply don't have any at the moment.
 Finally its done - You have your own needle ring that you can use immediately. Takes less than a minute to make one.

Here's the full collection I made today. 

Friday, 19 October 2012

How to make a basic larp boffer spear

Spears, halberds, poleaxes, and so on, are a bit more specific to make than one handed weapons obviously. Main issue is getting a good core for the job. When talking spears there are several types and sizes, that have different approach for them.

 First are short one handed spears.


A short spear would not be much different from the javelins - in fact if you only follow the same guide but make it a bit bigger (f25 core and say 1.2-3sm size) and you will get a nice dual purpose weapon - stabbing spear that you can also throw when needed.


Next are full sized fighting spears - you can use those with either 1 hand or 2 hands but they are usually not suitable for throwing. This guide is about them.


Finally you got pikes - 3 meters+. Pikes are a dedicated formation weapon, making them would be a problematic, let alone finding enough people for a pikemen square. Never encountered it so I got nothing to say about pikes.


So how would you got about making your basic simple spear? First of all materials needed.

BUDGET: around 20$ - the large pipe is a bit expensive.

MATERIALS

Core is an F32 polypropilene pipe, a piece of foam, tapes and some wood textured wall paper to decorate the spear shaft.

Note. The problem with polypropilene for long weapons, is that the longer the core, the more wobbly it becomes, effectively giving the so called spaghetti spear effect. The simplest way to counter that is to use a thicker pipe for a longer weapon and it works to a point. For weapons up to 1 meter something - f20 and f25 pipes are ok, for up to 1.5 meters f 32 is ok, but for bigger, its not enough and the f40 diameter pipe is I'd say a bit too big. The wobbling in spears and polearms can be solved by inserting something else inside the core - basically that's why I postponed making the spear guide, I was looking for something suitable. Alas I found nothing so far so i'll show it in the polearm guides later on.

Tools are the usual for every larp weapon.

A spear is actually remarkably easy to make, finding a suitable core is harder.


First thing to do would be to prepare the spear shaft. The core is 2 meters long and a suitable piece of wallpaper is cut for it.


And then wrapped around....After all it should look like a spear right?

 Here's the shaft in full size. Can't take photos of it elsewhere - its too long.
 The rear end I covered in tape. Some folks might turn it into a spike and thus make both ends of the spear useable, I'll pass on that for now.


Next thing to do is the spear head. NOTE  This is a SPEAR - not a polearm, not a naginata - a SPEAR. Its meant for stabbing only, not cutting and slashing, so don't try to wallop the other guy over the head ok? 

Now that we got that bit out of the way, back to the spearhead. Obviously, since you will be stabbing all the time, not occasionally as with swords, the head needs to be reinforced. You can't get away with something the size and thickness of a sword blade&tip.


 Thus the spearhead will be thicker and with a fortified tip - I got 3 layers of foam on it, and then the final one giving it the pointed shape.
 After the foam layers are placed on, the final two pieces are cut to give it a pointed edge. Not too much since constant use will flatten it anyway, just enough to make it look decent.
 With the spearhead finished you only need to cover it in tape and its done.
There is you basic spear in full size.

Wednesday, 8 August 2012

How to make a larp boffer fighting axe

Hello everyone, sorry for the long hiatus. For today we have one of the last one-handed weapon types left. The fighting axe. Now this guide won't be covering the whole process from start to finish, since it shares a lot of similarities with the guide on making a war hammer.  Therefore I'll basically pick it up from the point where the two are starting to branch off.


I'm not going to repeat the whole mumbo jumbo about tools, supplies and budget since its the same as before. Just make sure you are using a stronger core (F25)- too thin pipes will bend a lot.

What you want to do - is follow the warhammer guide until  the point where you start shaping the head.  For the record, here I'm recycling an old weapon again so I kinda start halfway finished. Yeah I'm big on recycling if you haven't noticed by now.

The head is for a single edged axe, if you want you can make it double edged - its not an issue. What you need to do though, is make sure the head is one idea tougher than the warhammer - since its bigger it has to be stronger as well.


The axe already came with a counterweight fixed in. Note that the axe will have a frontal center of balance - its how it should be anyway - we are not making a sword after all. Still, a counterweight and pommel will help with easier control and handling. 

 After that scraps from flipflops that were turned into soft knives the week before, are taped to  the core. This will help with having a better grip and keeping your buddy safe from accidental hits with the pipe.


 The final piece added is a pommel from a water tap valve, full with large coins. Its enough to move the balance to the middle of the axe. You'll still deliver stronger blows than a sword.
 Wood texture wallpaper is placed ontop to finish the shaft. This time it didn't stick too well, unfortunately. Having a second pair of hands would have been invaluable.

 Finally some leather for the handle grip and we can move to the edge.
  
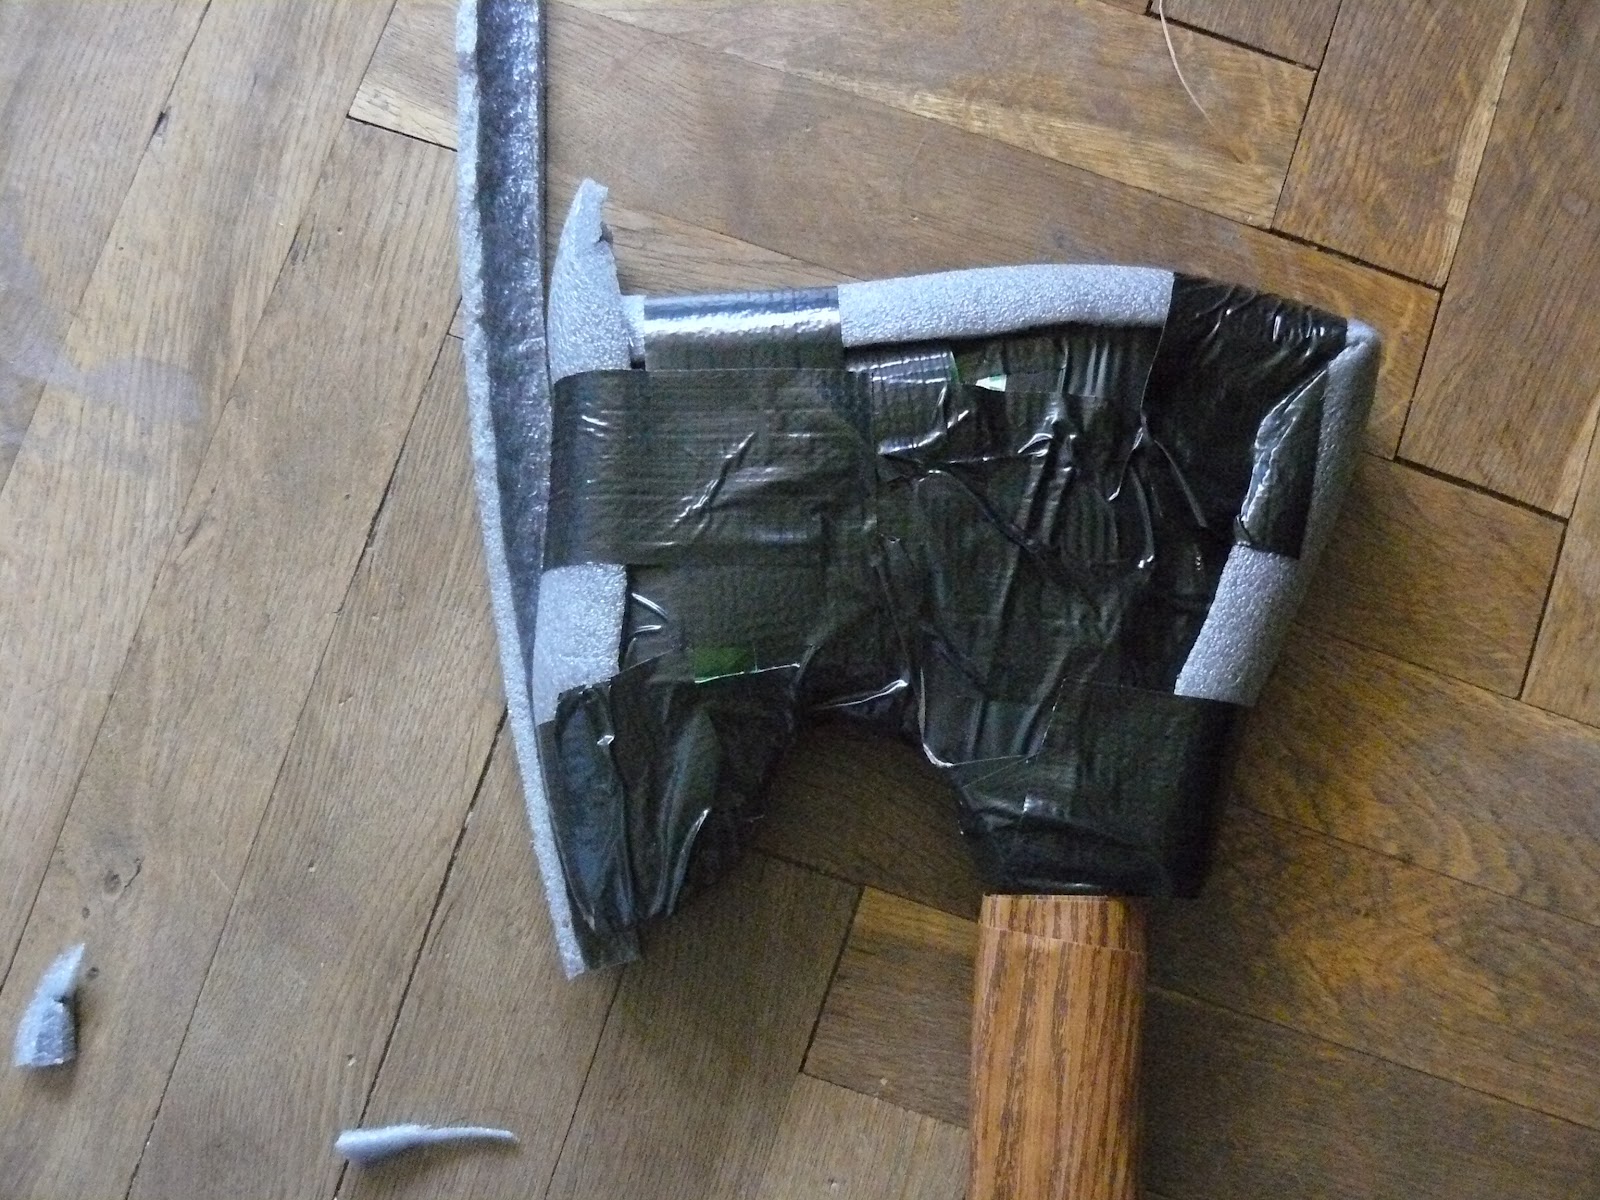
 The head has several layers of foam along the blade to compensate for the heavier head.
I eventually settled for 3, as well as 2 more for the rear of the axe. One thing I should have done is decorate the axe head, but I had nothing suitable for the job at the time. Maybe later. Last thing to do is put the aluminium foil on  and we are finished. 

Sunday, 15 July 2012

How to make a larp boffer javelin MK 1 a.k.a. Babby's first throwing spear

Right! The mark one boffer larp javelin passed both passive and live firing tests and I'm ready to present the model to the world. Mind you this is only MK 1, and I already have ideas on improvement based on my findings but they will be tested out later on. Photos from the live test can be found here.


But why javelins? And why designed like this? Well, javelins are a tried and tested weapon and very under represented in LARPs and boffer tags. After using them yesterday I'd say "Your loss!". Javelins have a fair amount of advantages. They fly best from all types of throwing weapons, they can fly at a high angle, effectively falling ontop of whoever's hiding behind a shield wall,  they can be used as a decent stabbing weapon themselves if need be. Sure a bow or crossbow is still the best ranged weapon on a larp battlefield, but your stack of javelins takes only one hand to throw so you can have a shield or weapon in the other hand.
They also take some practice before you learn how to throw properly but you can get the hang of it in an hour or two.

Now, why I designed them with a core? Well I've seen coreless javelins made only  with foam and they were...not impressive. If that's an issue with you, well don't follow my design.

Now - larp boffer throwing spears or javelins it is!


Budget: 10-15$ but you'd want to make a batch of em so the price would drop to 5-6 $ a piece.


Materials: Polypropylene pipe - thinnest possible(F20 for me), pipe insulation foam, tapes, wood texture wallpaper, some big nails.


Tools: just scissors and paper knife.

Let's get going then. Materials and tools are assembled.

 We start with securing same calibre pipe insulation foam on top of the pipe we are using for core.

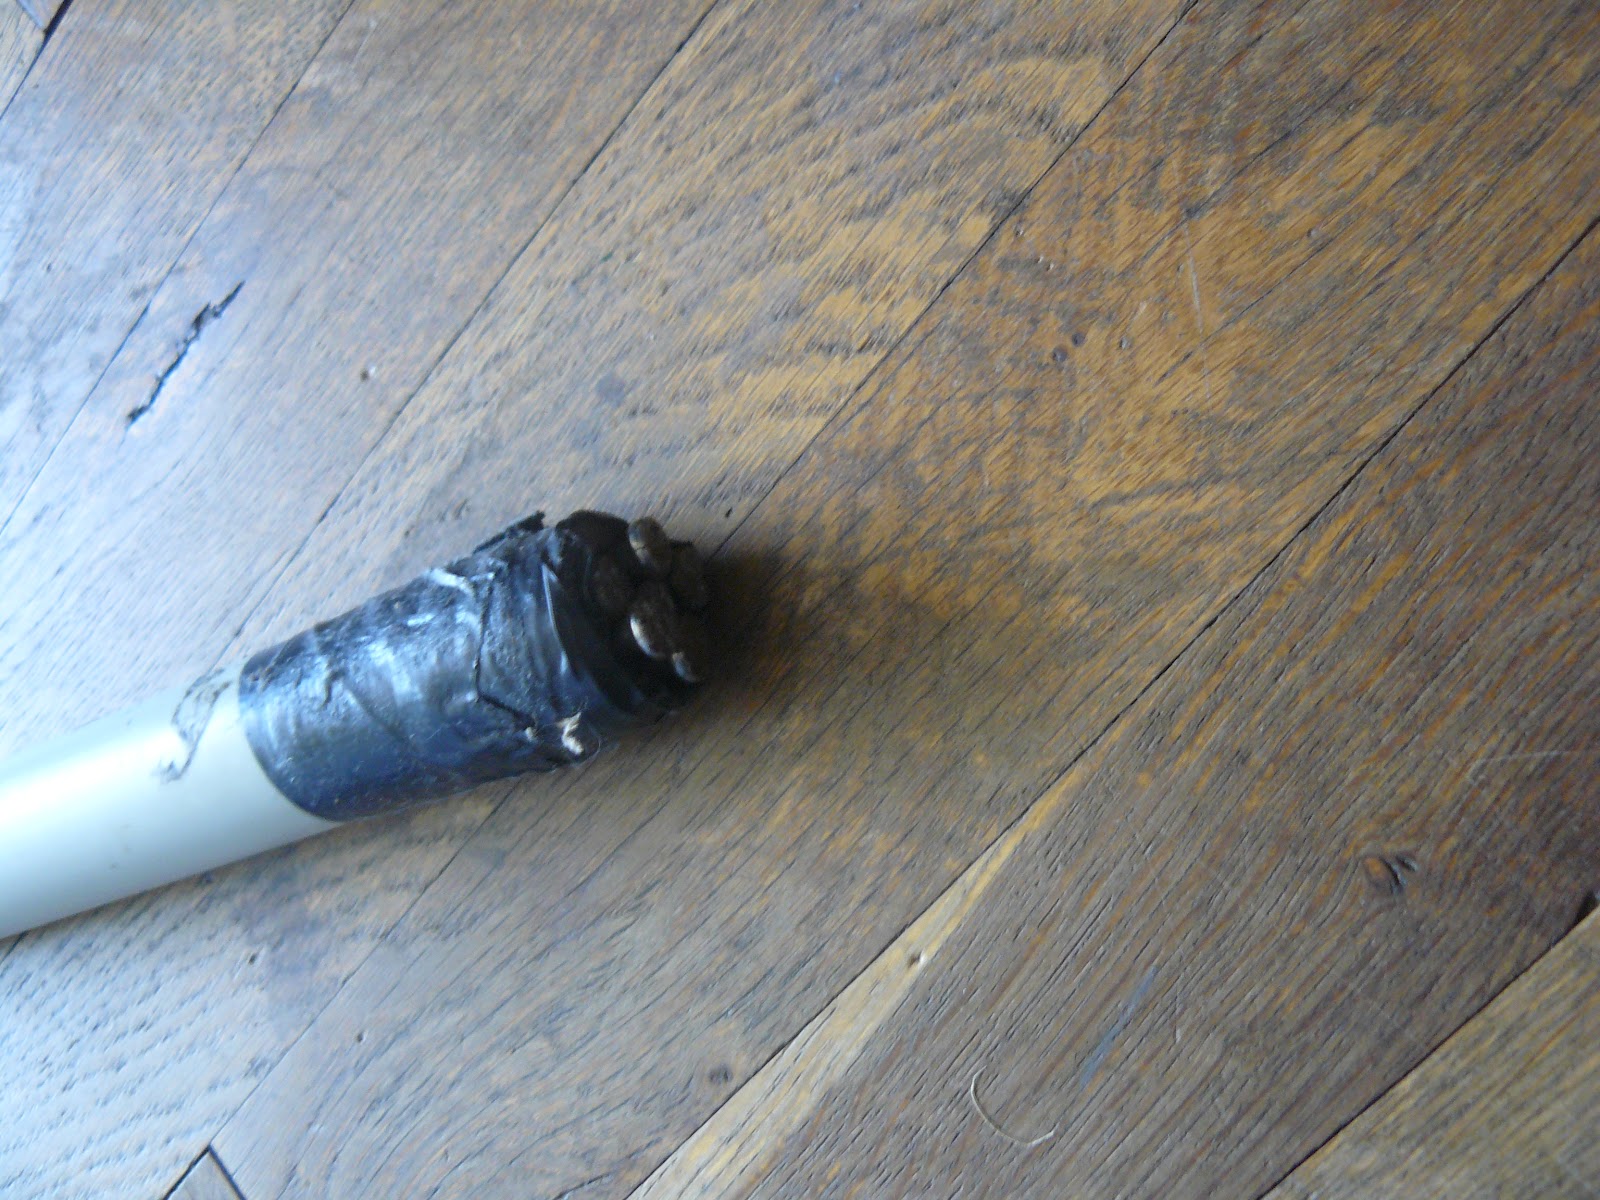
After that make a counter weight like this one and hammer it into the front end of the pipe until its immovable.

We need to tip the balance forwards here, so that the spear would fall on its head as it should be.
 Then cover the counter weight with a plastic bottle cap and secure it with tape.

Then, we wrap the shaft with the wood texture wallpaper. Time to handle the two ends of the spear.


Now its time to secure the rear end of the javelin. This is done simply as a precaution - on hit the spear will bounce off and the rear end may strike someone in the face. 

Then we make the head of the javelin. Now, considering its a long range throwing weapon, and it often falls on high trajectory, I decided that unfortunately -a normal spear head will be a bad idea for safety reasons, So I simply cushioned it as if it was an arrow, except that instead of the usual 2-3 layers of foam used in arrows, I placed a total of 5.

 First layer of foam is placed...
Then another 4 layers and we are ready for aluminium foil tape. After that, we are done.


 But of course, when making javelins the question is, why stop at one? They are volley weapons after all, and even if you use them yourself you'd still want more than just one - make a whole stack of javelins and then call it a day.