Showing posts with label model. Show all posts

Wednesday, 8 August 2012

How to make a larp boffer fighting axe

Hello everyone, sorry for the long hiatus. For today we have one of the last one-handed weapon types left. The fighting axe. Now this guide won't be covering the whole process from start to finish, since it shares a lot of similarities with the guide on making a war hammer.  Therefore I'll basically pick it up from the point where the two are starting to branch off.


I'm not going to repeat the whole mumbo jumbo about tools, supplies and budget since its the same as before. Just make sure you are using a stronger core (F25)- too thin pipes will bend a lot.

What you want to do - is follow the warhammer guide until  the point where you start shaping the head.  For the record, here I'm recycling an old weapon again so I kinda start halfway finished. Yeah I'm big on recycling if you haven't noticed by now.

The head is for a single edged axe, if you want you can make it double edged - its not an issue. What you need to do though, is make sure the head is one idea tougher than the warhammer - since its bigger it has to be stronger as well.


The axe already came with a counterweight fixed in. Note that the axe will have a frontal center of balance - its how it should be anyway - we are not making a sword after all. Still, a counterweight and pommel will help with easier control and handling. 

 After that scraps from flipflops that were turned into soft knives the week before, are taped to  the core. This will help with having a better grip and keeping your buddy safe from accidental hits with the pipe.


 The final piece added is a pommel from a water tap valve, full with large coins. Its enough to move the balance to the middle of the axe. You'll still deliver stronger blows than a sword.
 Wood texture wallpaper is placed ontop to finish the shaft. This time it didn't stick too well, unfortunately. Having a second pair of hands would have been invaluable.

 Finally some leather for the handle grip and we can move to the edge.
  
 The head has several layers of foam along the blade to compensate for the heavier head.
I eventually settled for 3, as well as 2 more for the rear of the axe. One thing I should have done is decorate the axe head, but I had nothing suitable for the job at the time. Maybe later. Last thing to do is put the aluminium foil on  and we are finished. 

Thursday, 24 May 2012

Simple way to make a larp weapon counterweight

Most short larp weapons don't need to be properly balanced because after all - they weight almost nothing. However longer weapons, especially two handed swords and other such do benefit from a counterweight. It gives them the feel of a weapon, and allows better control, especially of inertia which is kind of important for a great sword for example, unless you want to put someone down for real.


Note that this is just a testing example - I'm not making a new weapon here. Also - this works with polypropylene pipes, so don't try it for PVC or some other weapon core.

Materials: A handful of nails.


Consider this to be your average larp sword or axe or whatever. The pipe itself obviously has 50/50 weight distribution.


However, when we add all the extra foam and tapes, not to mention move the centre of balance back
 towards the handle, the weight tips towards the front substantially. This can't be allowed, so we will fix it as best as we can.

 This is a handful of common household nails, just enough to fill out the inner diameter of the pipe and wrapped in tape to keep em tight and together. This is our counterweight.

Now you must hammer it inside the pipe until its firmly lodged in. Once that's done it will be immovable. Since this is a polypropylene pipe, there is no danger of it shattering, the only way to remove the counterweight  would be to melt the pipe around it. In this case I've not hammered it in fully - you can get it to fit better and them simply cover it with something.

There you go - now the weight of the weapon is not so disproportionate.  Mind you for something heavier, such a counterweight won't be enough but its still better than nothing.

Sunday, 20 May 2012

Making a larp throwing axe or francisca

For some reason throwing knives in larp and boffer combat are far more common than throwing axes, despite the latter being an actual battlefield weapon, unlike the first. That reason of course  would be that larp and boffer weapons don't behave like normal weapons and often a throwing knife would have the same abilities like a throwing axe with the added benefit of smaller size(thus more can be carried around and concealed). In reality a throwing knife would be useless on a battlefield where everyone is wearing at least some kind of protection. The throwing axe, or francisca on the other hand has been used with great effect in a manner similar to roman javelins - to mess up the enemy formation before a charge.

Here I'll show you how to make a decent homemade larp francisca, and show you how you can recycle what would otherwise be trash.

Larp throwing axe

Recommended for: Battlefield throwing weapon(its too big to conceal) to be used before a charge or mid-combat. Its more versatile than a javelin, since having one tucked in your belt won't impair your movements. Short hand to hand backup weapon.  You can use it in close combat if need be but bear in mind that its not durable enough for continuous hand to hand fighting - the plastic would make the head bend rather than tear if tangled, but I don't recommend it anyway.


Budget: 1-15$(depends on what you have available)


 Materials:Pipe foam, 2 or more big plastic bottles(I used beer bottles) Cardboard(Old pizza boxes for me) Various tapes, glue, fake leather strip, training foam mat(or camping foam mat) - optional.

Tools:Scissors and paper knife.


And here we go!

Photo of the materials used before starting to work.

 First we cut the middle sections of the plastic bottles. The plastic will give our axe durability.
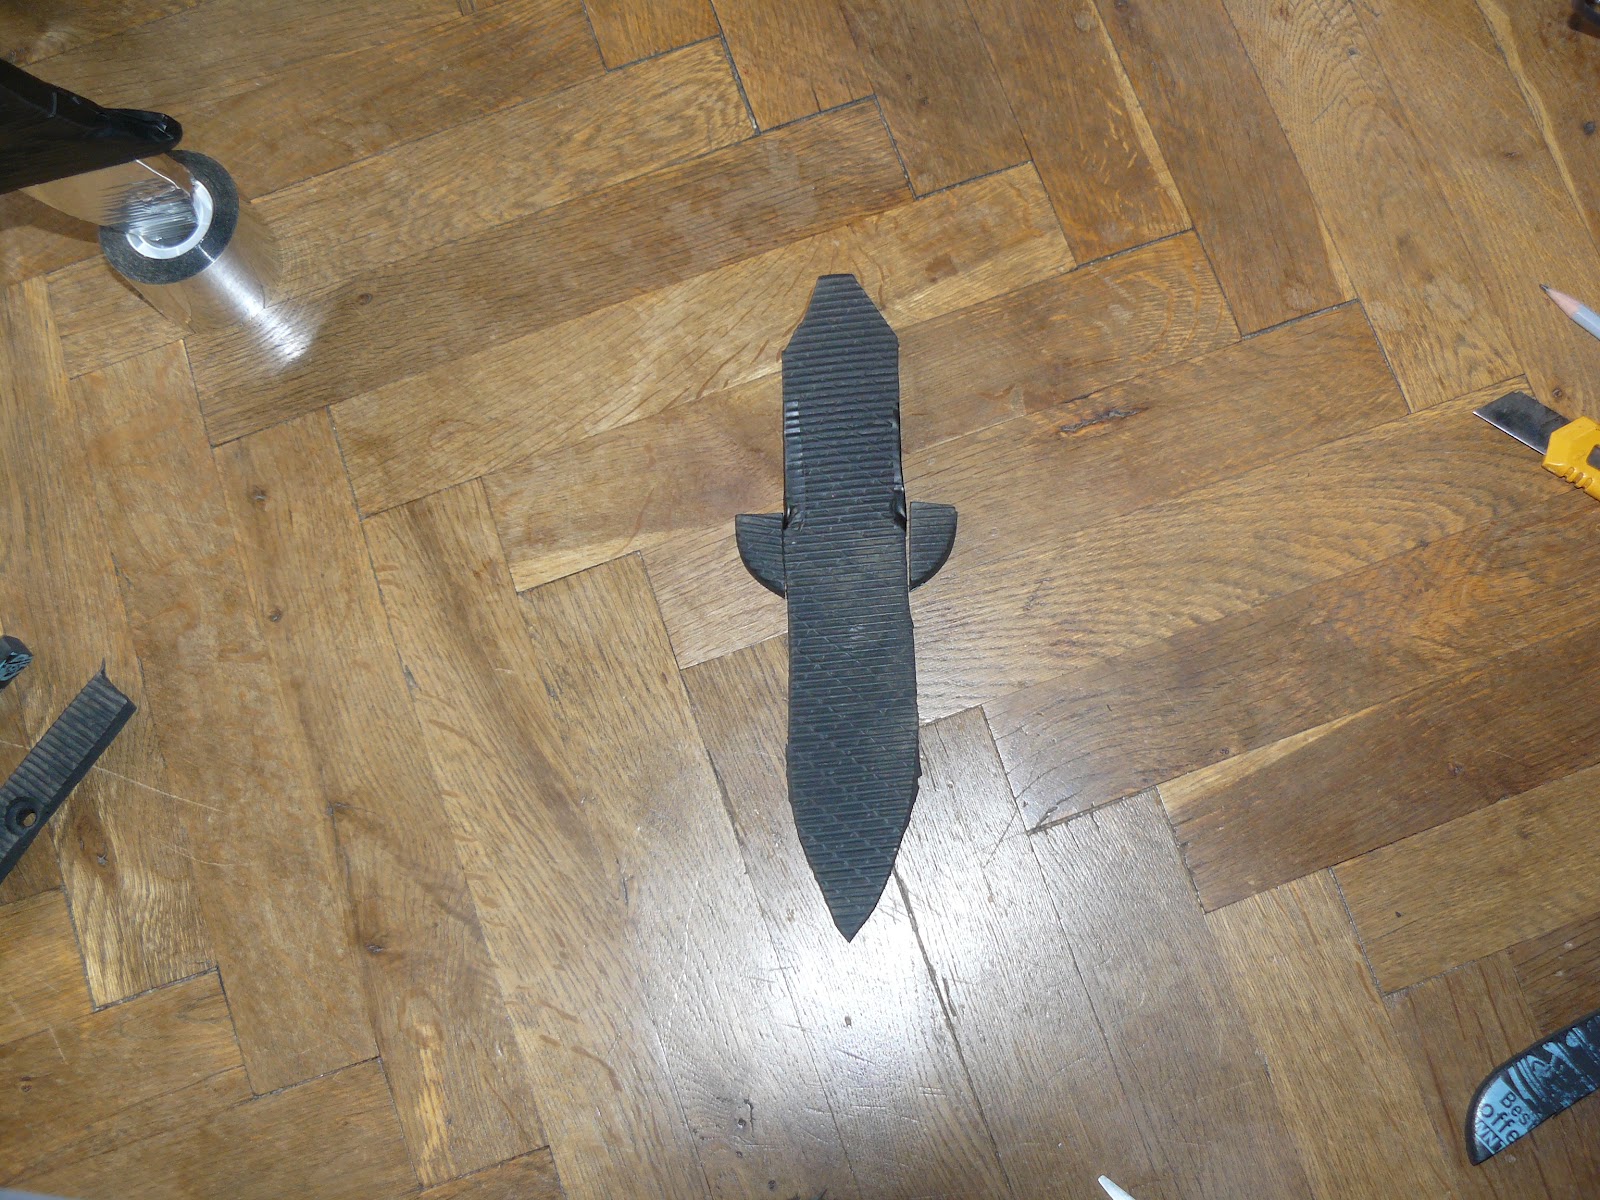
 Then we draw the basic shape of the axe on the cardboard and cut it out from 2-3 layers of cardboard.

After that we cut out the same shape from the plastic bottles. While the plastic will give durability, the cardboard will give it volume and add some weight.

 At this point, its still possible to make adjustments. I decided my axe was a bit too short, so I made the shaft longer. Its a good idea to remove any sharp points from the plastic too.

 Now its time to make the head. Shape the axe head carefully in the same way shown in the basic larp sword guide You don't have to make it too wide since there is nothing heavy or hard behind it.


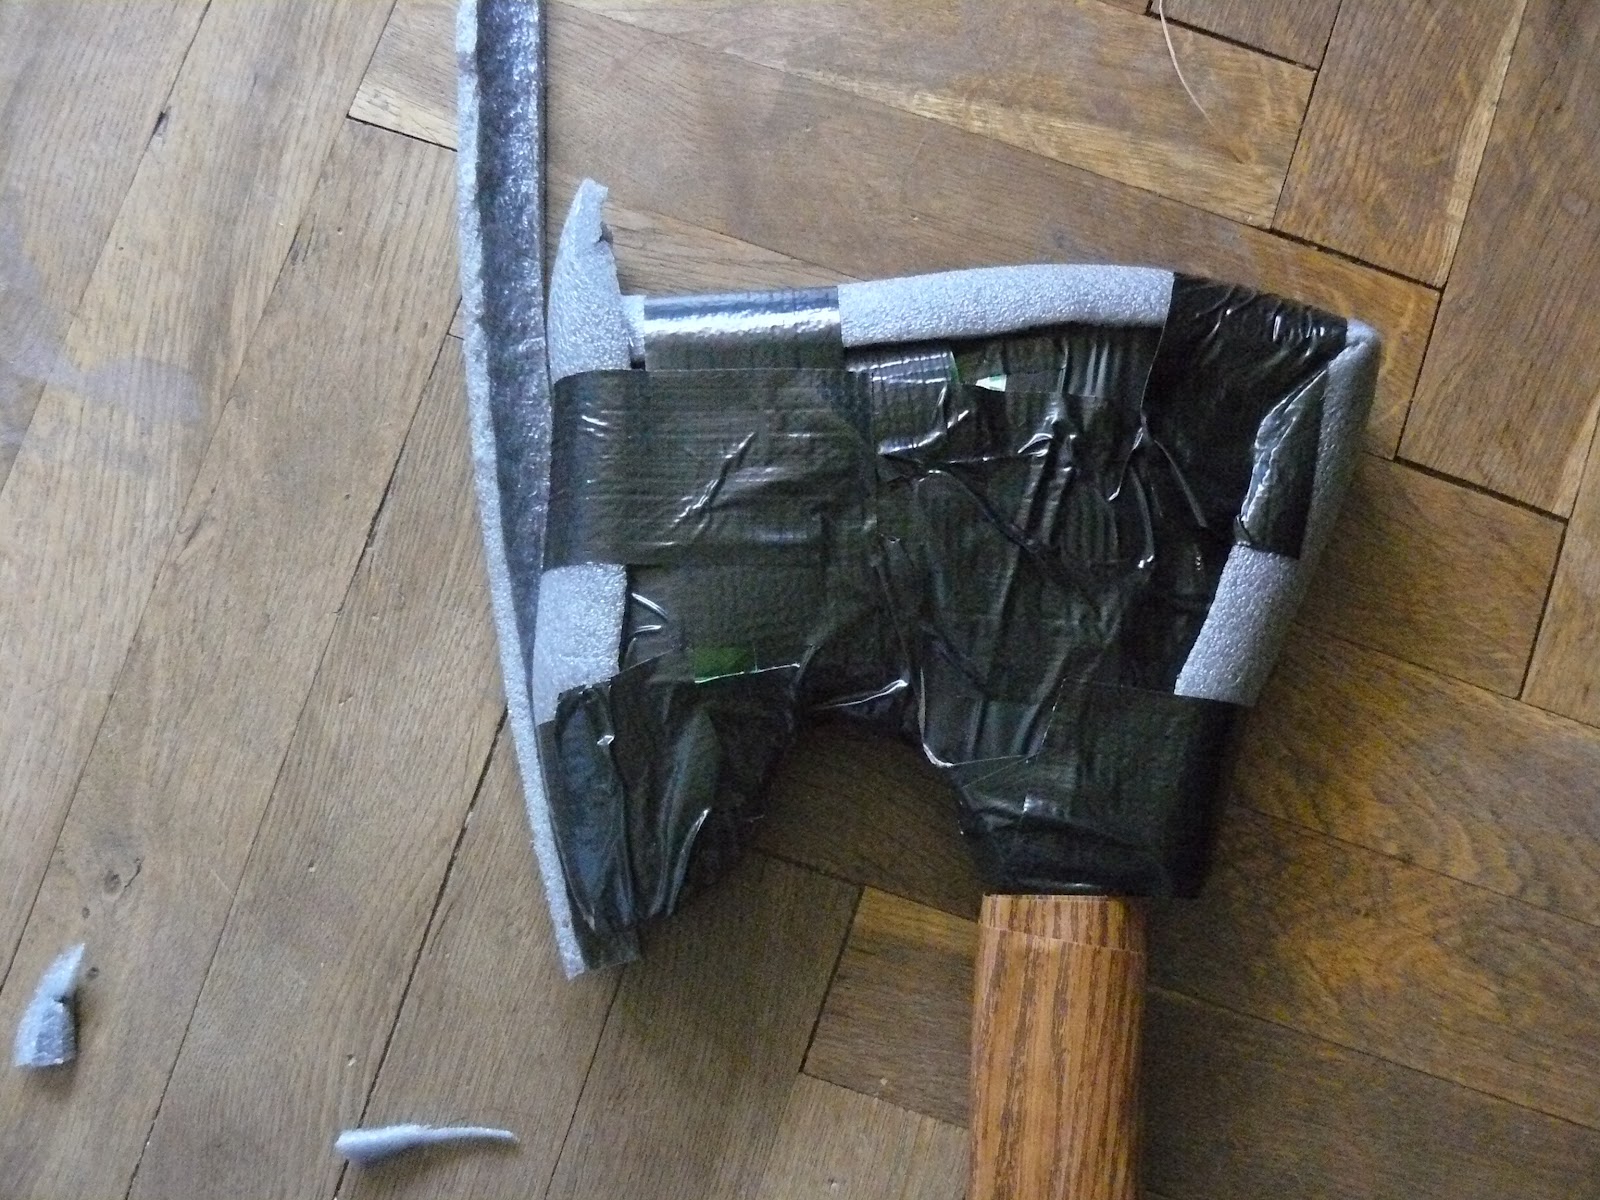
 Now its time to wrap the head and the shaft in strips of camp/training mat foam. You can use pipe foam too, camp/training mat foam is simply more suitable for the task but its hardly a must - I did it because I had it available on hand.


This will cover the hard edges of the plastic and give even more volume to our axe. Now it will actually fly.


  Finally both the axe head and the shaft are ready for covering.

We start with the axe head and wrap in in tape. I chose classic grey duct tape for its fabled durability.
I could have done a bit better here. A second pair of hands would have helped.
Next its time to wrap the shaft. I used the left over fake leather from the advanced soft knife tutorial
 Add quick glue and wrap it around!(and as with anything involving quick glue work fast...pun intended)

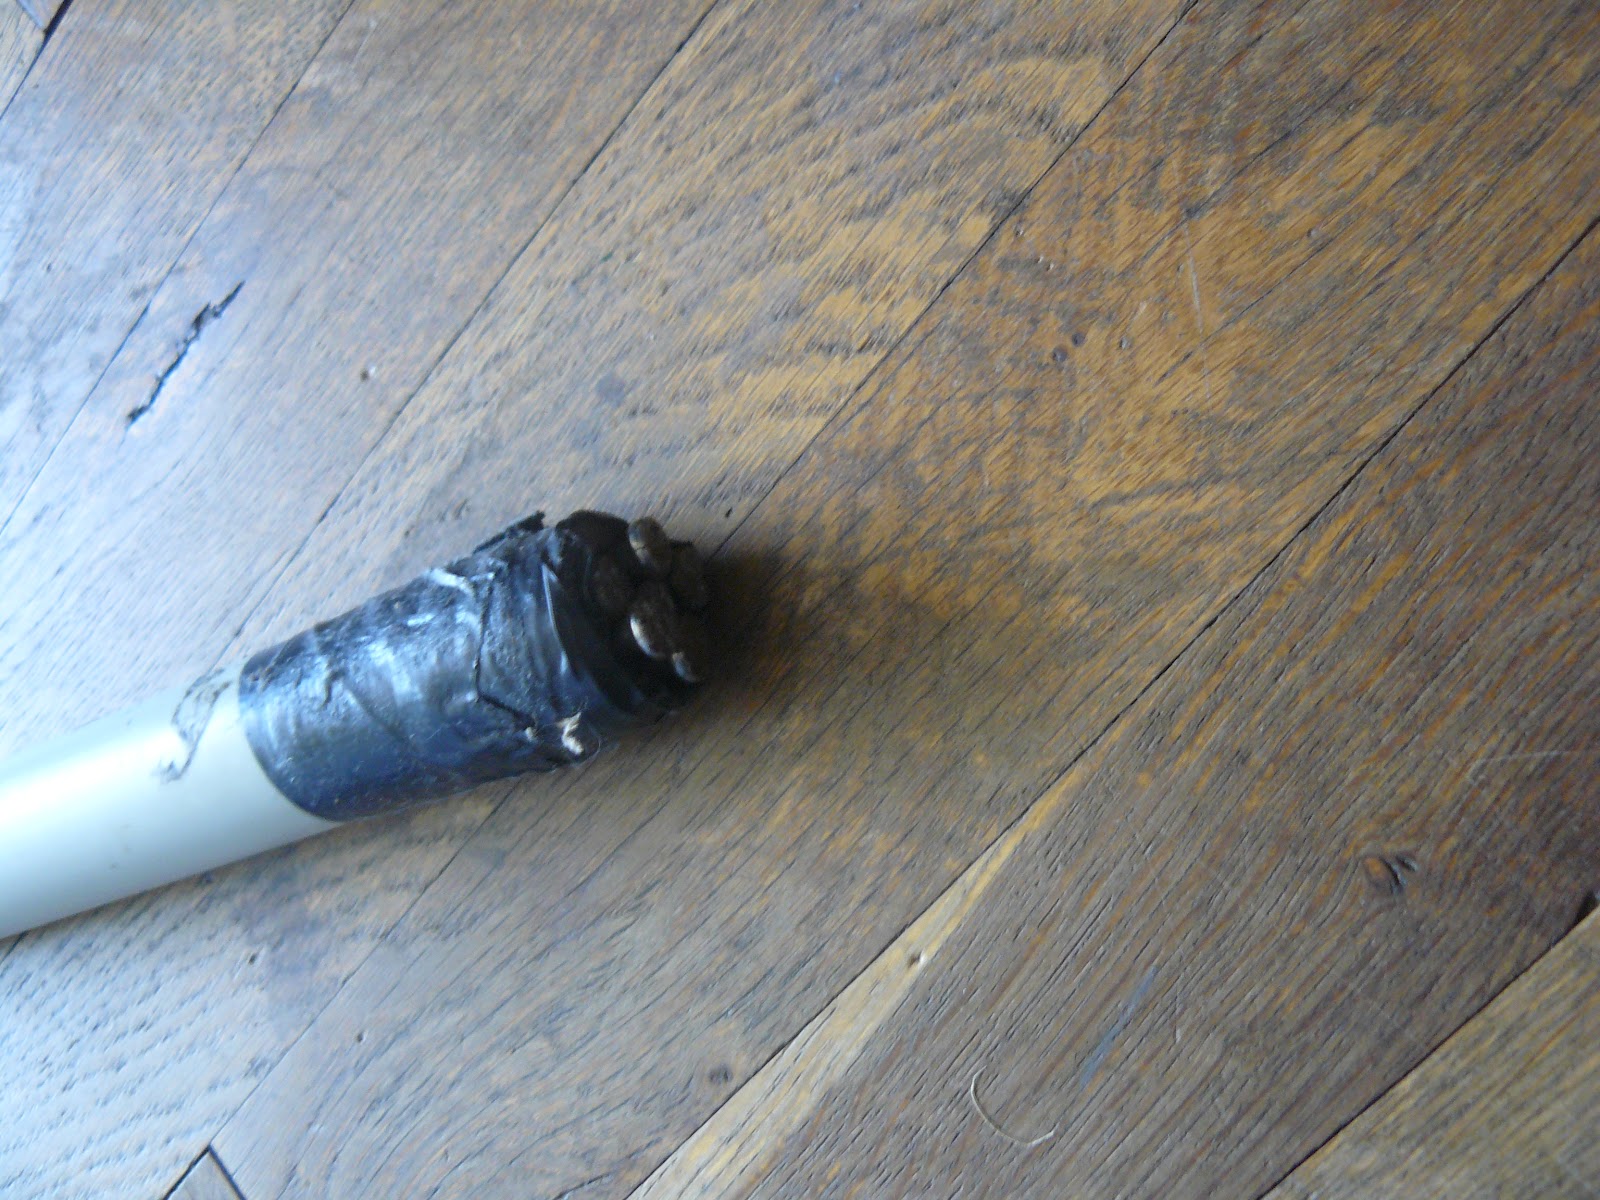
 With this done, our axe is finished. A small piece of pipe foam will serve as the pommel.

 Here you can see it measured with my hand to get an idea of its size.
 It has a good grip and flies well. Alas, I cannot mass produce these just yet. I ran out of beer bottles. Though There is a way to fix that...

Thursday, 17 May 2012

Making a soft core larp knife 2

There is more than one way to make small boffer knives for larp. Apart from the one already shown here there is the "flip flop" method. Its even faster and I'd say better though it requires a more specific resource - a pair of old flip flops.


Budget: About 1$

Materials:  An old pair of flip flops and tape.

Tools: Scissors.

Recommended for: A hidden blade, backup or a boot knife. Since it lacks a hard core don't try to use it in open fights as a parrying dagger unless you don't care much about your knuckles. It can also be used for a throwing knife with average range. Mind you - since its quite light, don't expect good accuracy and aerodynamics at ranges more than 5 meters.


Here we go then! Mind you - don't pick child size flip flops, unless you want to fight with a pin.


First things first - disassemble the flip flop with the scissors.  Its all straight forward from here on in.


    Next - measure out how wide you want your knife to be cut out the unnecessary pieces. You should do proper measuring, we don't want it looking too shabby.


Now we are left with our larp knife body(to the left) ready for forming.
Cut out a blade shape (again measure the cuts), if you want - prepare pieces for a guard.


Then wrap the handle with tape, afixing the guard as well if you decided on one(you can get cut it out from the initial shape, you don't have to add it later)

Finally, wrap the blade in tape and we are done! A simple, easy to make, easy to use and easy to maintain larp knife. Mind you that's the simplest possible model - just to show you how its made, you can do a more complex shape or decoration with ease.